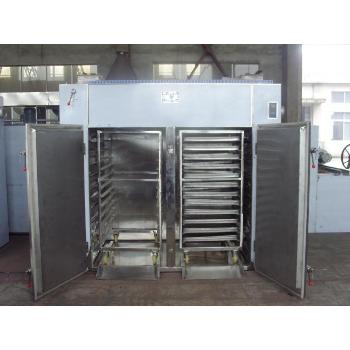
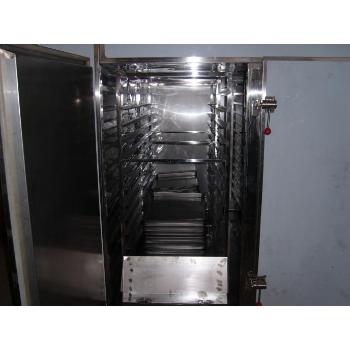
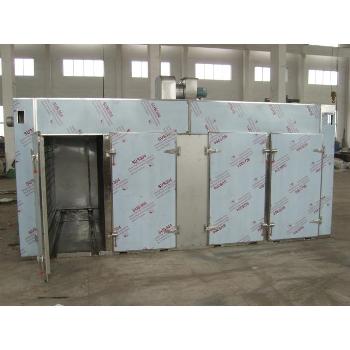
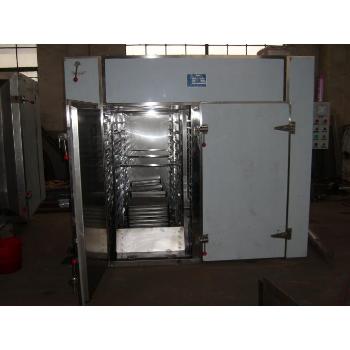
| QTY: | Price |
Supply Ability : 500PCS/ Week
Quantity:
-
+
Total Cost :
Packing Information
Pcs/Carton: N/A
Packing Size/Carton:N/A
Packing Vol/Carton: N/A
N.W./Carton: N/A
G.W./Carton: N/A
QTY in 40HQ: N/A
QTY in 40GP: N/A
QTY in 20GP: N/A
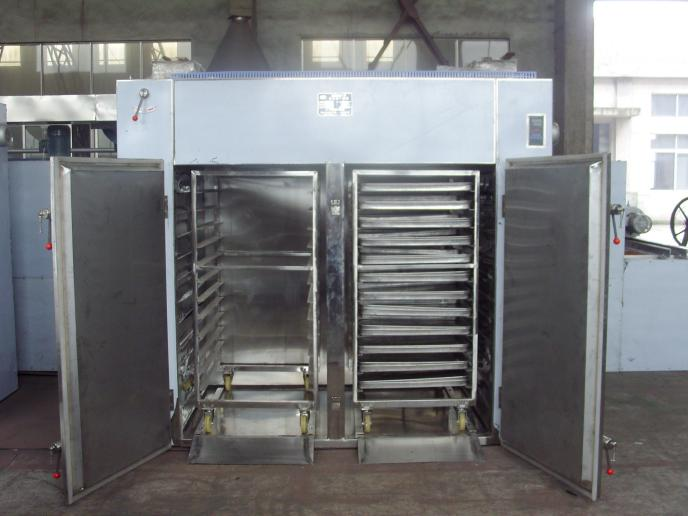
Connected to the main switch to ensure that the steam piping (including water pipelines) smooth does not leak; electric heating power flow without short circuit, you can turn on the power to start test.
The first use should be noted that the direction of rotation of each fan, the direction of according to the arrow direction the fan. In general (that is, stereotypes products), our factory selection of fans are all "right-rotate" type, that is, watching from in the motor side of the fan, the blade runs clockwise rotation.
Adjust the humidity uniformity of each point in the box: Adjust the opening degree of the guide blade on the left and right sides of the box, which can affect the temperature nearby. If the temperature is low somewhere, correspondingly, should open the blade nearby much bigger.Conversely, the high temperature should be appropriate to close it a bit. So repeated adjustments, make sure the up, the down, the door and internal points of of the chamber, All the temperature of these points are basically the same.
No need to change any more after the adjustment.
1.Turn on the steam: open the cut-off valve, so that the steam goes through the solenoid valve and bypass body, to exclude water and dirt in the pipeline, a few minutes after to close shut-off valve , to let the instrument automatic control of the steam.
After long-term suspension, then you plan to restart the oven, especially connect the new steam pipe, be sure to operate in accordance with the above method to avoid the steam solenoid valve is blocked.
2.Turn on the power: Turn on the power switch on the control panel to the "on", this time the power indicator light should be lit, the temperature digital display regulator will also have a signal display.
3.Start the fan: press the "fan start" button, the first use of the oven should pay attention to whether the fan direction is turning correctly. If the fan direction reverses, there should be electrician to change the direction.
4.Temperature measurement: touch-type control panel displays the measured value, then the instrument displays the figure is just the oven temperature.
5. Temperature constant temperature control setting: After the power is turned on, the main display window in the control panel will display the measured value of the controlled object, and the sub-display window will display the main previously set loop control value . At this time, press on the function key for about three seconds , The main display window becomes "5U" symbol, a number of sub-display window began to flash, then lightly add the number keys, subtrahend keys and move the key to any value within the specified range of the instrument. When the value of the sub-display window becomes the required value, press the function key again, the value of the resetting is input into the instrument, and the meter will start to adjust automatically according to the new main loop control value.
6.Alarm temperature setting: press the function key and the plus key for about three seconds, when the display shows "RH" symbol, the digital of the sub-display window shows is the upper limit alarm value, you can use the move key, subtract key to change the settings. When the main display window shows "RL" symbol, the sub-display window displays the lower limit alarm value. Due to the factor of the potential difference, when you set the upper limit alarm value , please minus 1, that is to set 800 ℃, then set the upper limit alarm value should be set at 799 ℃; and to set the lower limit alarm value, you should add 1, so that the instrument can be alarm without any inaccuracy.
When the alarm occurs, in order to avoid the long-term noise of the bell, immediately turn off the steam heating or electric heating, and open the moisture exhaust outlet, the fan in the starting state, so that the temperature inside the chamber can be lower than the alarm set value, which takes about a few minutes , When below the alarm set value, the bell automatically shut down.
7.Shutdown procedure: Shut off the fan - Turn off the power switch - Close the stop valve, (if it is just a short stop does not need to shut off the stop valve).
8. In the case of electrically heated ovens, step 1 is omitted.
Failure phenomenon | Possible Causes | Solution |
1,Temperature can’t rise high | 1Fan reversal or stop 2Steam is blocked or low pressure 3Drain trap blocked 4Improper adjustment or failure of exhaust outlet 5Chamber body or door leak 6Electric heating may be short-circuited | 1Correction, repair or replacement 2Eliminate the blockage, to ensure pressure 3Repair or replacement 4Temporarily not exhaust or less exhaust 5Seal 6Check electrical heating |
2、Temperature is not uniform | 1Left and right air guide plate improper adjusted 2Chamber Box or door leak 3Material (workpiece) is too large, this large area blocks hot air | 1To adjust it according to the 3 point of the second part 2Seal 3Try to guide the wind |
3、Temperature out of control, too high | 1Automatic control system failure (no control, the steam where the opening degree is too large) 2Improper adjustment of exhaust outlet 3The steam pressure is too high | 1Check the instrument, circuit, especially the steam solenoid valve, according to the instructions of the solenoid valve repair or replacement. (Where turn down a little of the valve ) 2Appropriate to increase the exhausting volume 3Appropriate to increase the exhausting volume |
4、The drying time is too long | 1Temperature is not enough 2Temperature is not uniform 3The exhaust port is blocked 4Material is laid there too thick | 1Refer to Fault 1 for solution 2Refer to Fault 2 for solution 3To ensure that the exhaust volume and exhaust smoothly 4Reduce material, choose the best thickness |